Edit: 2021 I updated and simplified the Budding Kit in 2021.
More photos and info for version 2 here: https://www.nativebeehives.com/buddingkitv2/
Original Budding Kit – below – created 2016
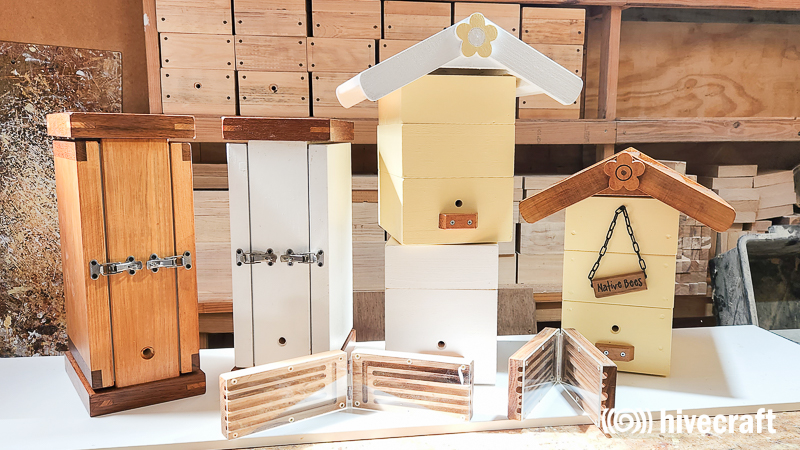
In 2016 I created the Budding/Eduction Kit below. While it was a great design, it was a little over kill. I have since simplified the design.
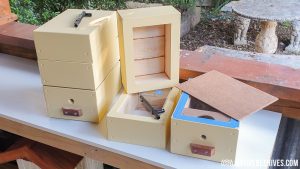
This box design is intended for Budding – Soft Splits, Observation and normal splits. It also has a honey super section.
Specs:
- Timber: Cypress (with Pine lid)
- Timber Thickness: 35mm
- Design: Utility – Combination: Budding / Observation / Splitting
- Internal Volume: 6.8 litres
- Brood Supports: 10mmm Cypress cross bars
- Separator Plate: Clear Acrylic – Multiple separator plates
- Coating: Exterior Paint
Starting with three standard frames 280mm x 200mm
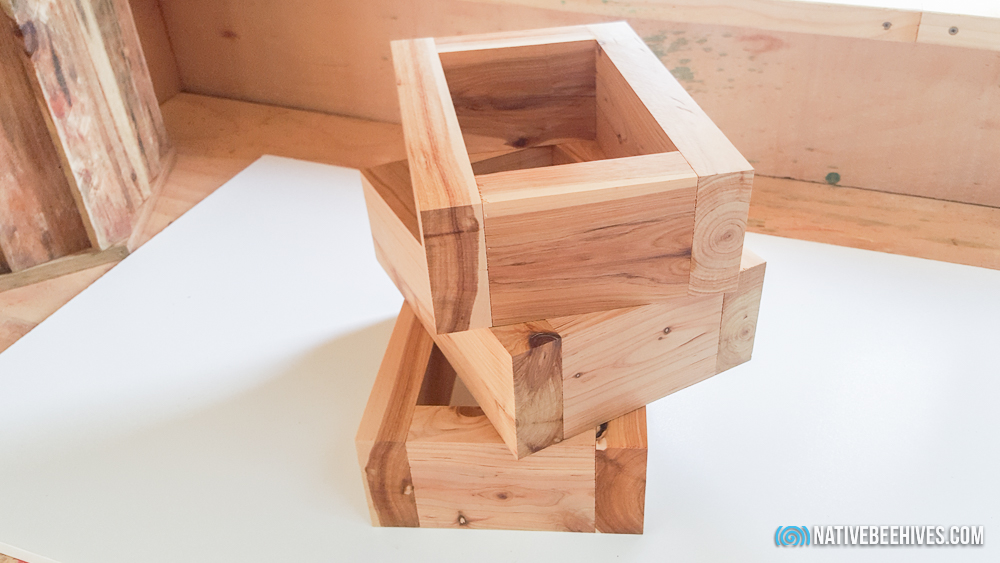
Each frame has been routed to hold the thin Perspex viewing window. The windows can be removed as a new frame layer is added…
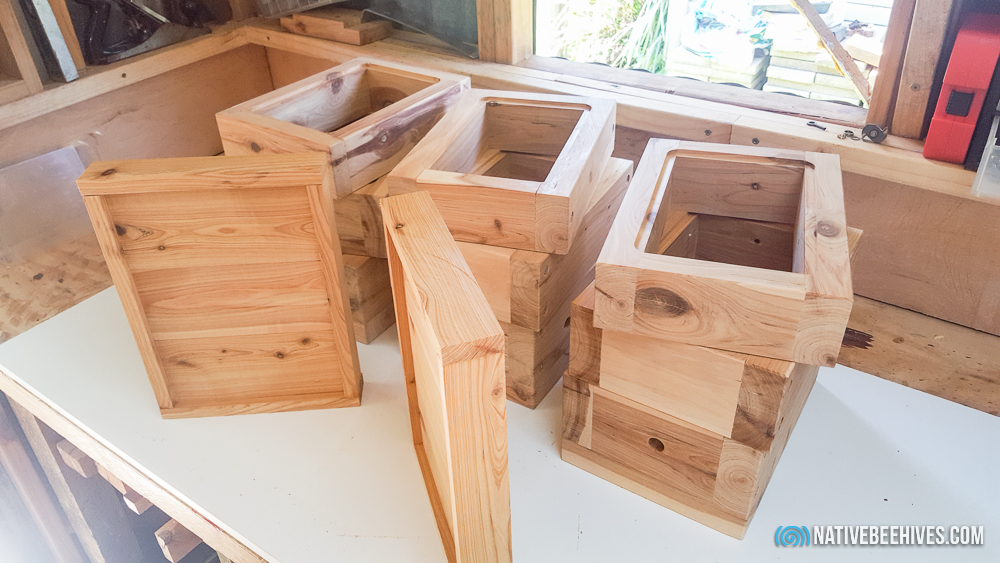
There’s multiple configurations. The lid can be placed on any one of the three boxes…
The pine lids are completely painted for good sealing…
Below – An example of the connection using black tube to direct the bees through the new Budding Box. To start off with you could just use the bottom box with the Perspex window and lid on top. As the new box fills with structure you can add a new box layer and still observe them through the clear Perspex and place the lid on top. These bottom boxes have a hole in the rear as well as the side so there’s options, it depends what position suits your hive location.
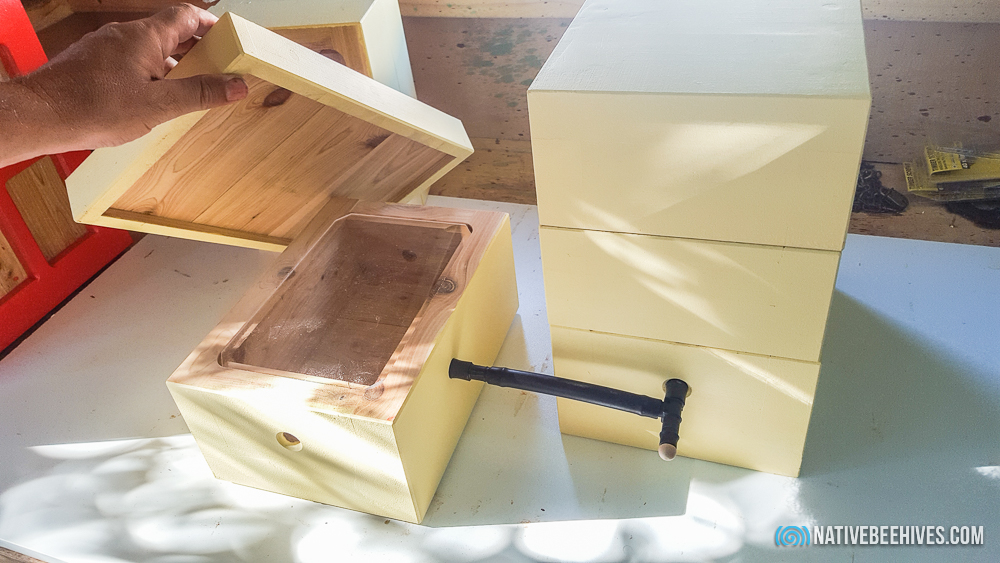
Instructions for Budding Hives set ups…
- Stage 1 – Connect the bottom box with lid to start off with.
- Stage 2 – Once the bees start building structure, and hopefully create a new queen and start with the brood. When you see the brood being created you might then remove the perspex from the bottom bx and add the second box layer to create more space for them, and unblock the main hive plug to give the bees the choice to leave via the first exit or continue to the Budding box.
- Stage 3 – Once the brood is well established and the hive is going strong you can add the Honey Super box layer. Note: When you add the Honey Super frame, remove the slim piece of perspex that isn’t screwed in place from the second layer so the bees can access the Honey Super.
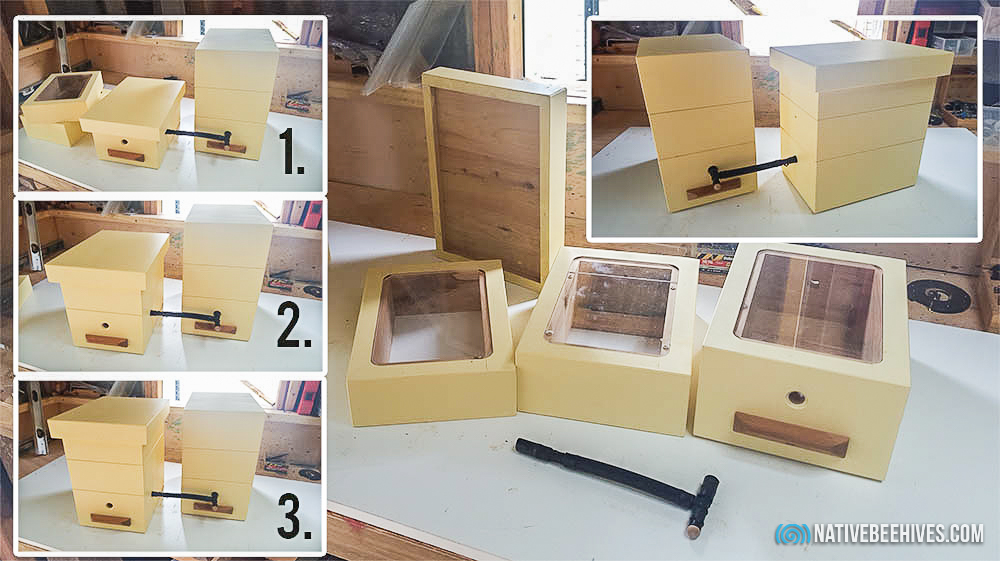
Box Features:
- The bottom box has two entrance holes. The front hole is the main entrance and exit. Then there’s the rear hole for inserting the Budding tube connecting from the old hive box.
- Each box layer has a clear acrylic viewing window so you can check the progress without disturbing the bees.
Below – a couple of Budding Tube Adaptors. These can be screwed to the front of an existing hive at night…

